
Our Location
304 North Cardinal St.
Dorchester Center, MA 02124

Learn how to use PNG files in Canva to create invitations, posters, classroom materials and social posts with this easy step-by-step guide.
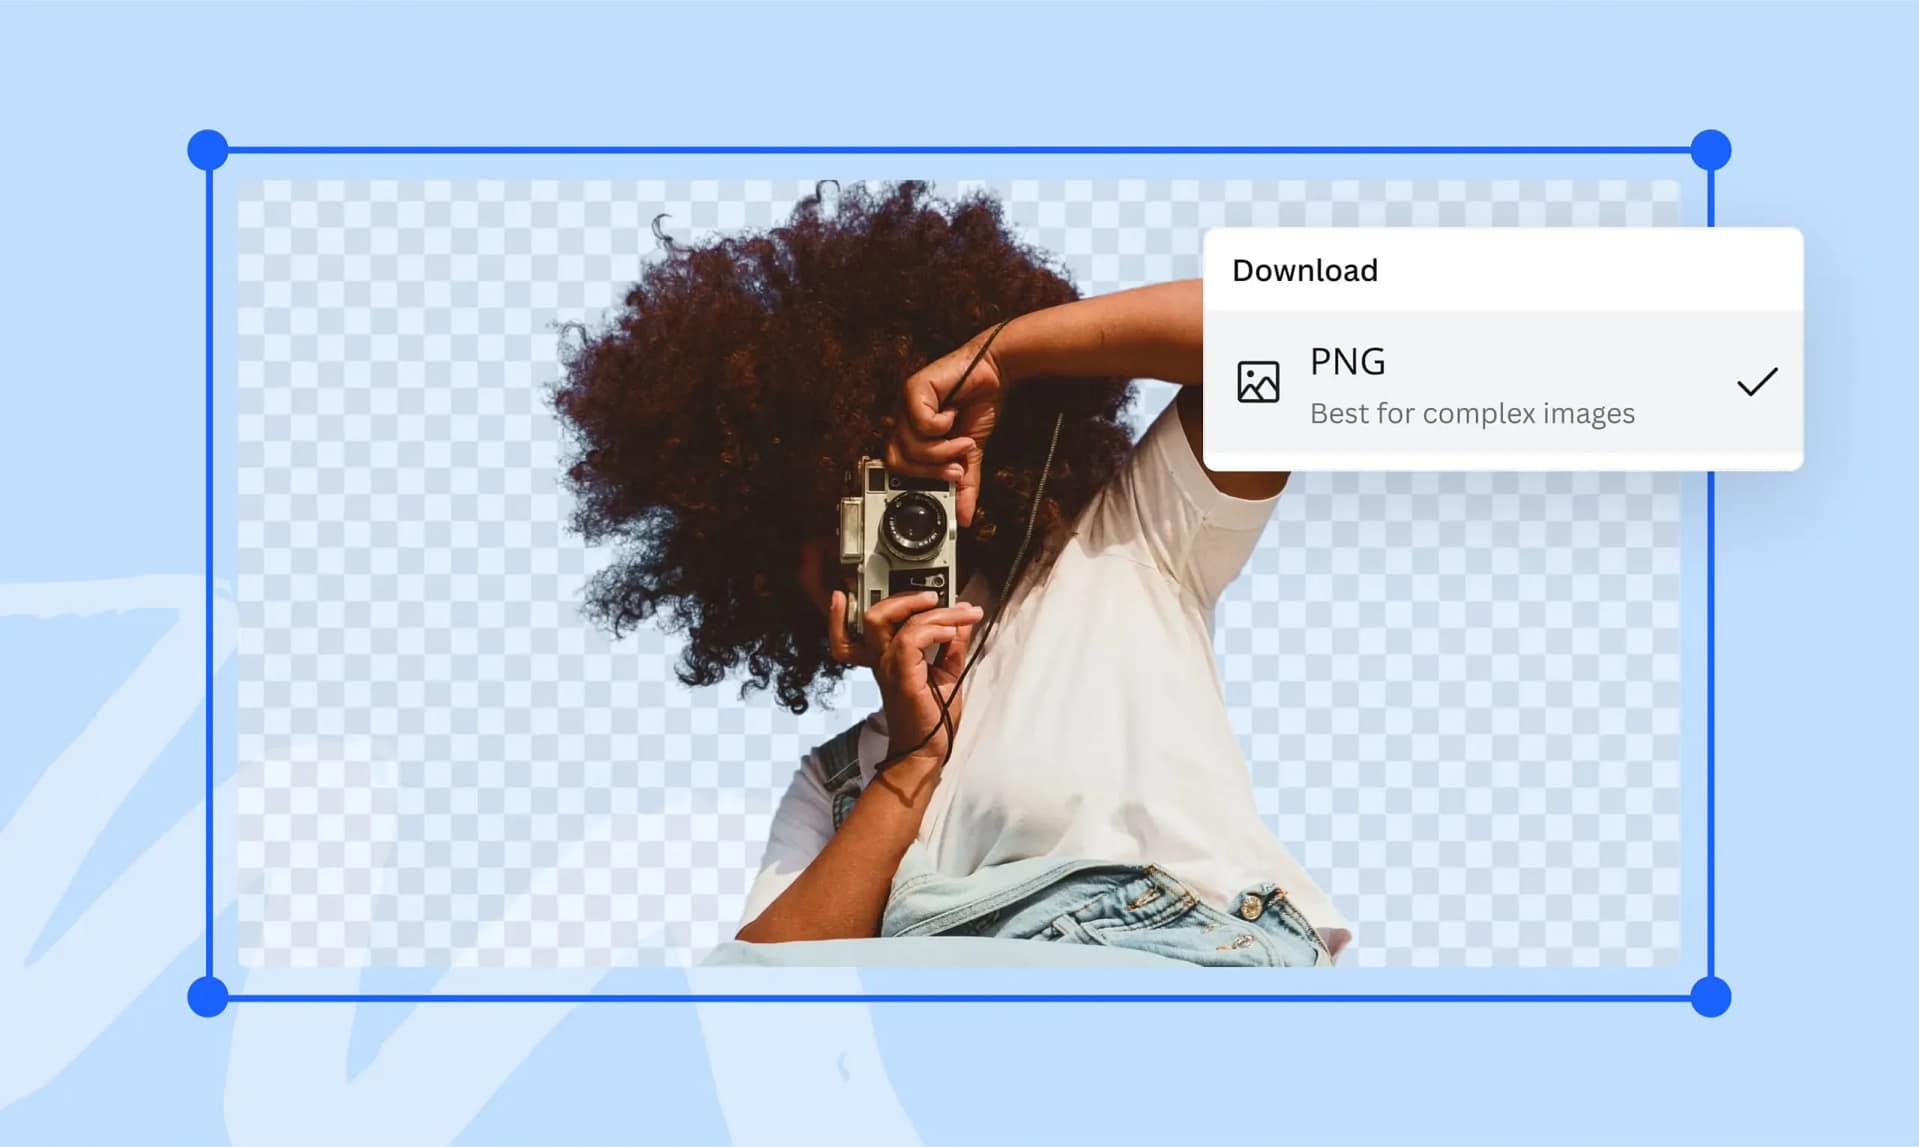
If you want to make a design more playful without drawing every element yourself, learning how to use PNG files in Canva is a great place to begin. A PNG graphic can be uploaded, resized, layered and combined with text in just a few minutes. When the image has a transparent background, it can sit neatly on almost any colour, photo or layout.
This guide walks you through the complete process, from downloading a graphic on PandaPNG to exporting your finished Canva design.
PNG is especially useful for cartoon characters, decorative objects, icons and clipart. Unlike a normal rectangular photo, a transparent PNG may contain empty space around the main subject. That means the character or object appears to float naturally over your design instead of arriving with an unwanted white box.
PNG files are useful in Canva for:
Visit PandaPNG and browse by category, use the search box, or explore the newest and most-downloaded graphics. Open the graphic you want and check that it suits your project. Read the usage information on the product page and the website’s Terms & Conditions before downloading.
Save the file somewhere easy to find, such as your Downloads folder. Do not take a screenshot of the preview. A screenshot may include the page background and usually gives you a lower-quality image than the original download.
Sign in to Canva and choose the format you need. You can start with an invitation, presentation, poster, worksheet, Instagram post or custom-sized canvas.
Open the Uploads panel, choose Upload files, and select the PNG from your device. You can also drag the file into the Canva editor on a desktop computer. When uploading is complete, select the image to place it on your page.
Drag a corner handle to make the graphic larger or smaller while preserving its proportions. Avoid pulling only from the side, because that can make a character appear unnaturally wide or narrow. If a small PNG becomes blurry when enlarged, return to the original size or choose a higher-resolution graphic.
Use Position to move the PNG forward or backward. For example, place a character in front of a coloured shape but behind the invitation text. Leave enough clear space around important words so that the layout remains easy to read.
Choose a background that creates clear contrast with the PNG. A busy character graphic often works best against a simple colour or gentle gradient. Add a short headline, then use one or two readable fonts for the supporting information.
You can crop excess transparent space, rotate the graphic, duplicate it, reduce its transparency or add a subtle shadow. Use effects lightly. The PNG should support the message, not make the design difficult to understand.
Select Share, then Download. Choose PNG for a crisp digital graphic, JPG for a smaller flattened image, or PDF Print for a design that will be printed. If the final design itself needs a transparent background, check whether that export option is available in your Canva plan.
The image has a white box: You may have downloaded a JPG, copied the preview, or used a PNG without genuine transparency. Download the original file again.
The image looks blurry: Avoid enlarging a small raster image far beyond its original dimensions. Start with a high-resolution PNG and design at the correct final size.
The design feels crowded: Reduce the number of characters, enlarge the margins and keep text away from detailed parts of the image.
The upload will not complete: Confirm that the file is not damaged, refresh Canva and try the original downloaded file again.
Once you know how to use PNG files in Canva, you can turn a simple blank page into a colourful personal or educational design. Explore PandaPNG’s cartoon, animal, holiday, background and kids’ collections, choose a graphic that fits your idea, and let the transparent background do the layering work for you.
Quick FAQ
Can Canva open PNG files? Yes. PNG is a common image format that can be uploaded and placed in Canva designs.
Can I change every colour inside a PNG? Not in the same way you can edit separate vector shapes. A PNG is a raster image, although some Canva adjustment tools may change its overall appearance.Can I use PandaPNG graphics commercially? PandaPNG currently describes its content as personal, educational and non-commercial unless otherwise specified. Check the individual file information and current website terms before use.
